Replacing spark plugs on a Grand Caravan — including the hard rear-bank ones
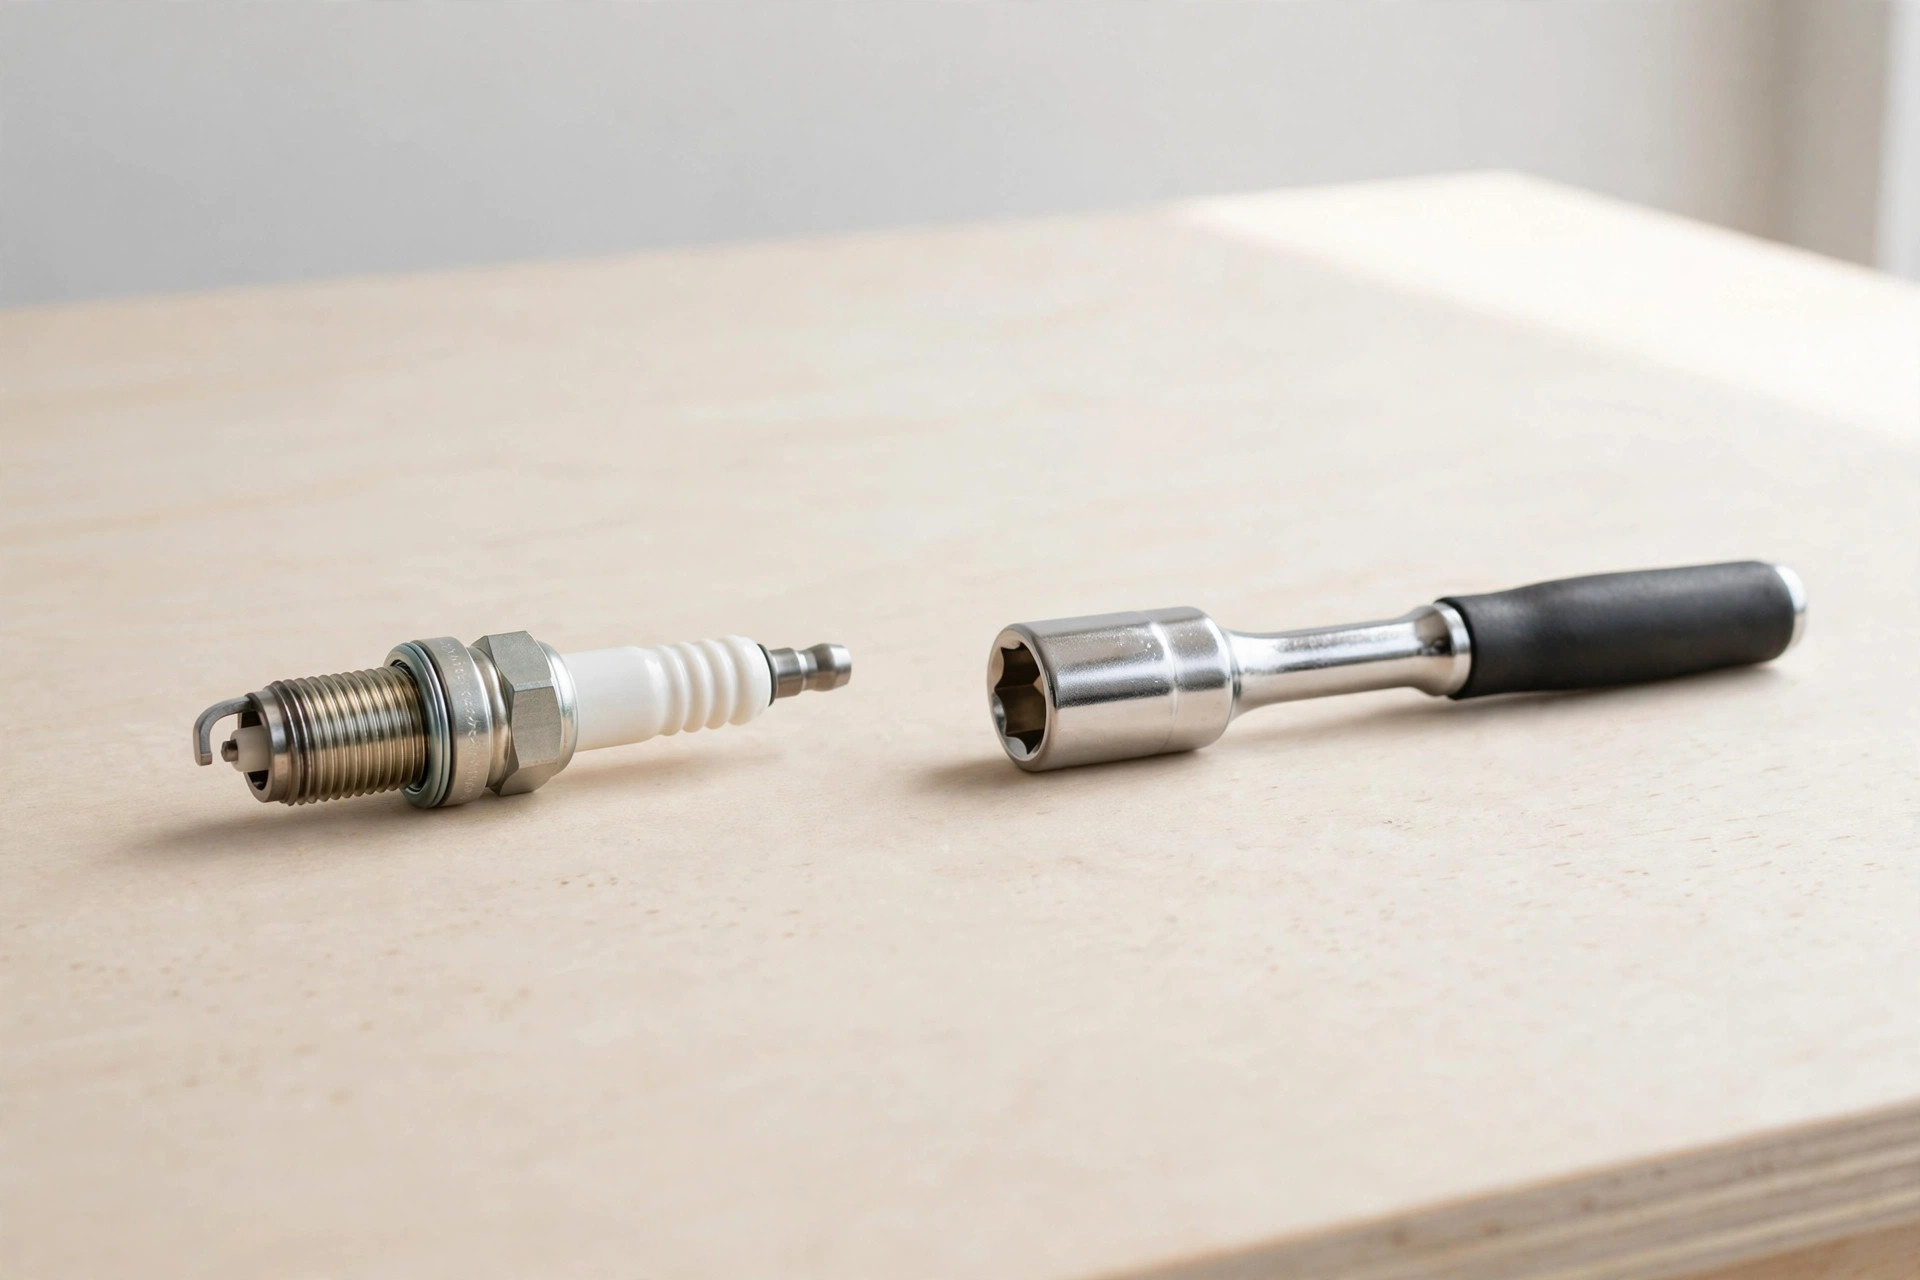
Spark plugs are one of the most important small parts in your engine — they start the combustion process that keeps everything running. They wear slowly, with a factory service interval up to about 100,000 miles (long-life platinum and iridium plugs can reach up to 120,000 miles if your engine doesn't burn oil or idle excessively). On a Grand Caravan V6 this is a DIY-able job — all six plugs typically take 20–45 minutes. The catch, and the reason this guide exists: the three plugs on the firewall side — the rear bank — are notoriously hard to reach. We'll get to that honestly.
Tools and parts
- Six new spark plugs matched to your model year and engine (V6 = 6 plugs). Your owner's manual or the parts-store lookup is the authority on type and gap.
- Spark plug socket, ratchet, and extensions.
- A torque wrench — overtightening can crack plugs, so guessing is not good enough.
- A gap gauge to check each plug's gap against the manufacturer's specification.
- Compressed air to blow debris out of the plug wells before removing plugs.
- Dielectric grease for the inside of each plug boot — prevents voltage leaks and stops the boot fusing to the plug.
- Anti-seize compound (maybe — see the debate below).
Step by step: the front three
- Engine cold, battery disconnected. Confirm the engine is cold to the touch, then disconnect the negative battery terminal.
- Clear the top of the engine. Remove the air cleaner assembly to expose the front three ignition coils.
- Blow out the plug wells. Blast compressed air around the coils before removing anything — this keeps dirt from falling into the cylinder when the plugs come out.
- Remove one coil and boot. Grasp the coil by the boot, rotate gently, and pull. Work one plug at a time so coils can't get mixed up.
- Unscrew the old plug with the spark plug socket, ratchet, and extension — counterclockwise to loosen.
- Gap the new plug to your manufacturer's specification. A two-minute step that matters: an off-spec gap causes rough running.
- Install the new plug. Thread it in by hand first (cross-threading is the expensive mistake), then tighten with the torque wrench to your manual's spec.
- Grease the boot and reinstall the coil. Thin dielectric grease inside the boot, push it onto the plug, reinstall the coil, its hold-down bolt, and the electrical connector.
- Repeat for the other two front plugs, then reinstall the air cleaner assembly.
The rear bank: your three access options, honestly compared
The rear three plugs sit against the firewall with almost no working room. Here's what each access route actually means:
| Route | What it involves | Best for |
|---|---|---|
| Wiper cowl removal | Remove the wiper arms, cowl panel, and wiper motor module — opens a working window to the rear plugs from the top. | Most DIYers. More disassembly up front, but you can see what you're doing. |
| From underneath, by feel | Reach the rear plugs from below, mostly blind. | Experienced hands only. Fast if you've done it before; easy to cross-thread if you haven't. |
| Intake plenum removal | Remove the upper intake plenum for full top access. | Last resort — have a new plenum gasket on hand to reseal it. |
The honest recommendation: if this is your first plug job, take the wiper-cowl route. Mark wiper arm positions before removal so they park correctly, and photograph every step of the cowl disassembly. Once the rear bank is exposed, the plug procedure is identical to the front three. And if none of these routes feels right, do the front three yourself and pay a shop for the rear three — half the job at home still saves real money.
The anti-seize question
You'll find two camps online, and they're both loud: old-school mechanics who always apply a thin coat of anti-seize to plug threads, and many spark plug manufacturers who advise against it. Here's why they disagree: anti-seize changes thread friction, which distorts torque readings — a plug torqued "to spec" with anti-seize can actually be over-tightened, risking cracked plugs or damaged threads. Modern coated plugs are designed to resist seizing on their own. The practical take: if the plug manufacturer's instructions say not to use anti-seize, don't. If your manual is silent and you're working on an older van, a very thin coat is the traditional approach. Either way, a thin film is the maximum — never slather it on.
What success looks like
Reconnect the battery and start the engine. Success is boring: the engine idles smoothly with no stumble, no check-engine light, and no new ticking. Take a short drive — acceleration should feel even, not jerky. If it runs rough or the light comes on, the likely causes are a coil connector left unplugged, a wrong plug gap, or a cross-threaded plug — shut it off and recheck before driving far.
FAQ
How do I know my plugs are worn? Rough idle, misfires, sluggish acceleration, worse fuel economy — or simply hitting the service interval (up to about 100,000 miles).
Do I really need a torque wrench? For plugs, yes. Overtightening cracks the plug's ceramic or strips the head's aluminum threads — both turn a cheap job into an expensive one.
Can I just replace the easy front three? You can, but plugs should be replaced as a set — mixed old and new plugs wear unevenly. Consider the compromise instead: front three yourself, rear three at a shop.