Pentastar oil filter housing leak: find it in the valley first
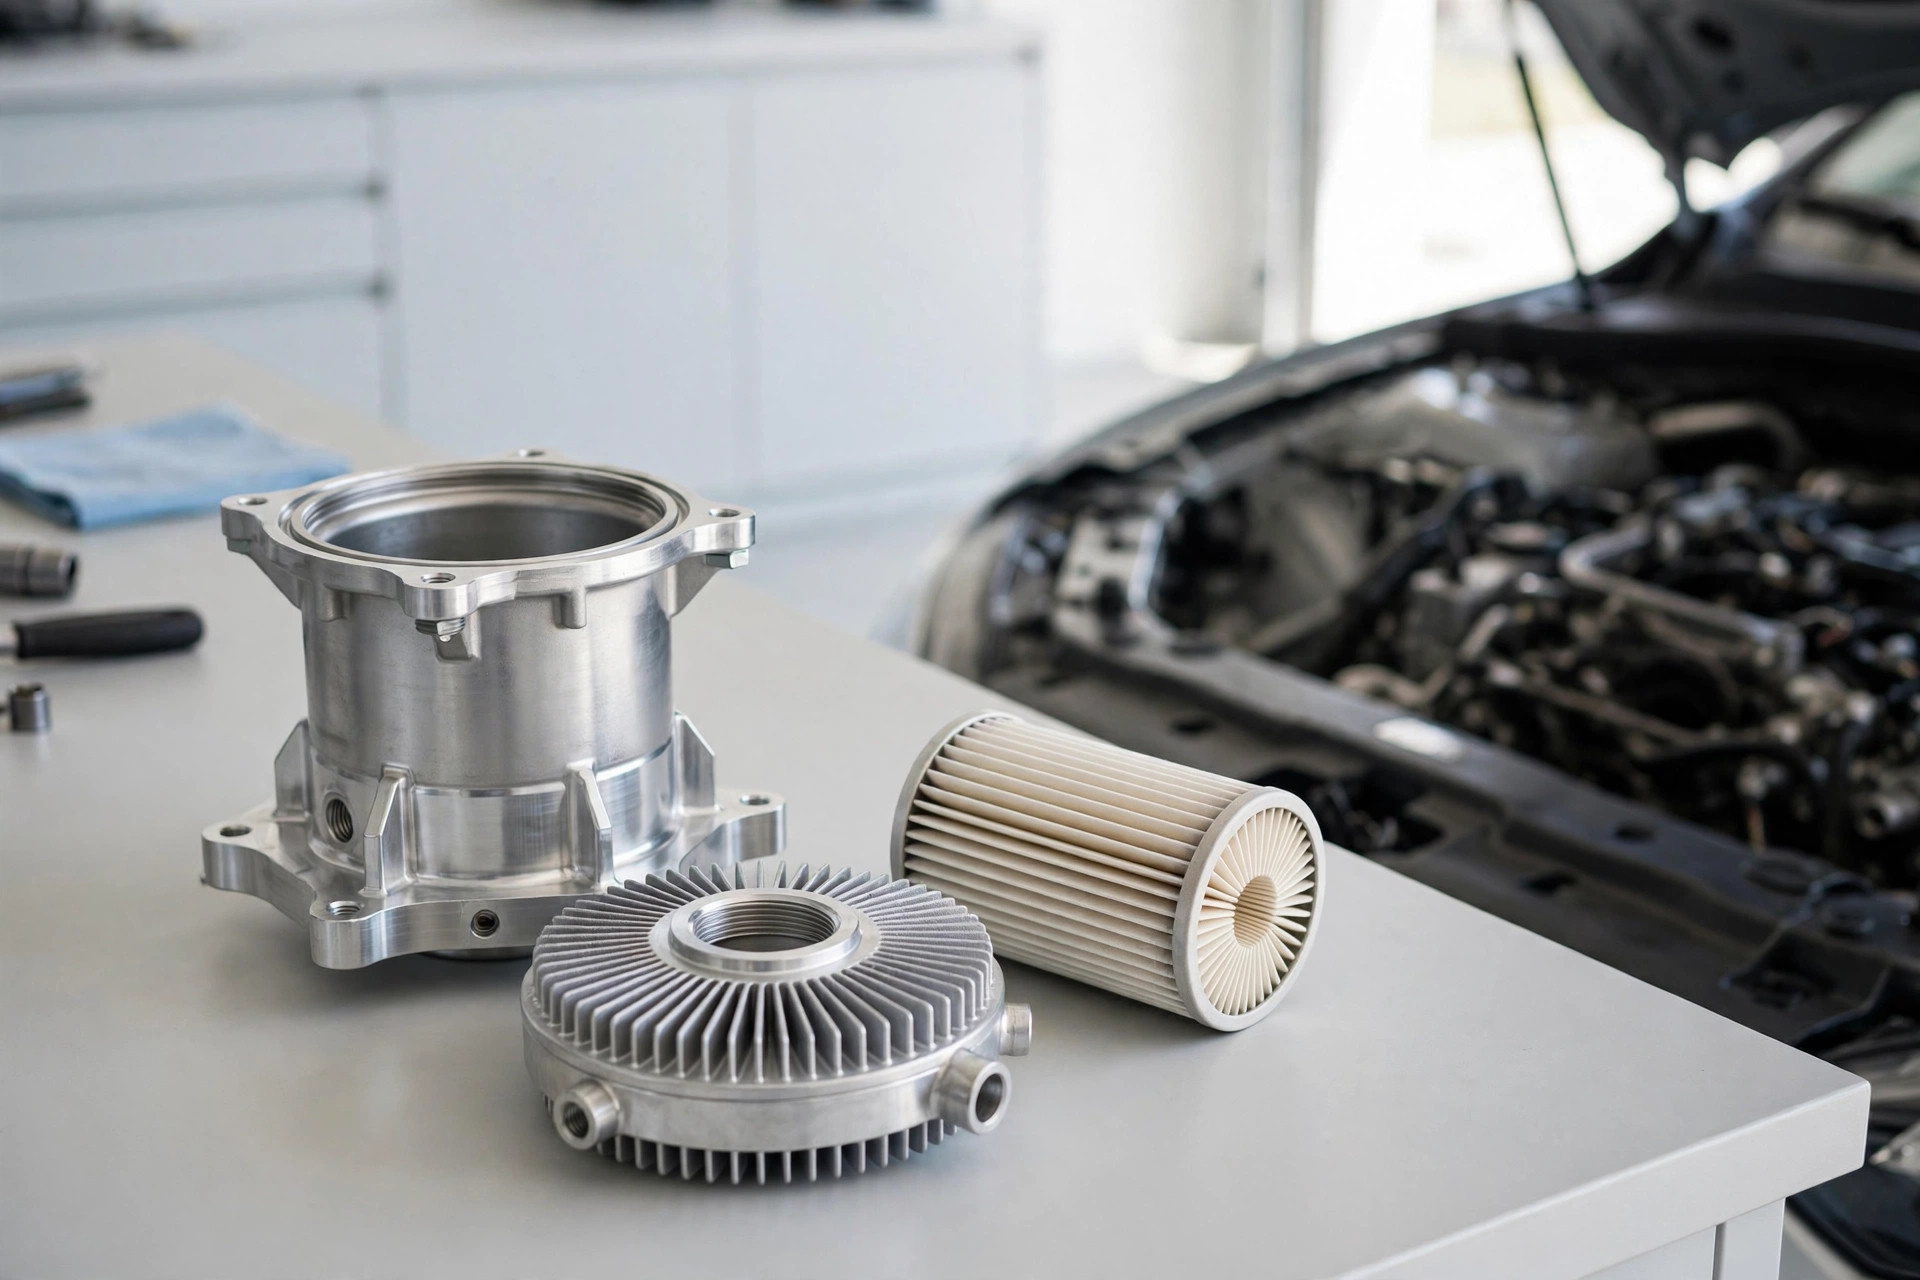
On 2011–2020 Grand Caravans with the 3.6L Pentastar V6, the oil filter does not spin on at the side of the block. It sits in a cartridge on top of the engine, inside a combined oil filter housing and oil cooler assembly that lives in the valley between the cylinder heads, underneath the intake manifold. That assembly is one of the best-known leak points on the engine — and one of the most misdiagnosed, because oil that starts in the valley ends up somewhere else entirely. Owners get quoted a rear main seal, an oil pan gasket, or a valve cover job for a leak that began at a plastic housing they could have inspected in ten minutes. This guide runs the diagnosis in the right order, then the repair decision, then the replacement procedure itself.
The leak that looks like three other leaks
The symptom pattern is consistent. Oil spots appear under the middle or rear of the van. The dipstick level drops between oil changes with no obvious source. There may be a burning-oil smell after driving, because oil that escapes the valley runs down the rear of the engine onto hot surfaces, and oil shows up around the bellhousing where the engine meets the transmission — which is exactly where a rear main seal leak also shows up. In worse cases the cooler leaks internally and oil appears in the coolant, giving the reservoir a milky look, and the engine can run hot. None of those signs, on their own, names the part. What names the part is location: this leak starts high. Oil from a rear main seal or an oil pan never pools on top of the engine. Oil from this housing does — it fills the valley first, and only overflows down the back of the block once the valley holds more than it can contain.
Why it fails is also well documented. The factory housing is plastic, and that plastic lives through thousands of heat cycles in the hottest part of the engine bay. Over years it warps, its seals and O-rings harden and shrink, and the housing can crack — sometimes from nothing more dramatic than tightening the oil filter cap during a routine oil change. Critically, a leak here does not automatically mean the housing itself has cracked: failed seals, a damaged cap, or a cap that was overtightened at the last oil change can produce the same valley full of oil. That distinction is worth real money, and it is what the diagnosis below is for.
Diagnose from the valley down: the tested procedure
- Start cold, and clean first. With the engine cold, note the oil level on the dipstick and the coolant level and appearance in the reservoir. Milky or oily coolant changes the job — it points to an internal cooler leak and a coolant flush after the repair.
- Remove the plastic engine cover and look into the valley. Shine a bright light down beside the oil filter housing. A pool of oil sitting in the valley, or wetness tracking from around the housing and cooler, is the signature finding. A rear main seal cannot put oil up here.
- Check the bellhousing from underneath. Oil on the upper part of the bellhousing or the back of the block points to oil that dripped from above. Oil that appears only at the bottom of the bellhousing, with a dry valley, points away from the housing and toward the rear main area.
- Inspect the cap and the last oil change. Look for oil tracking from the filter cap itself and a cap O-ring that is flattened, nicked, or sitting out of its groove. If the leak started immediately after an oil change, the cap and its O-ring are suspects before the housing is.
- Decide what is actually leaking. Dry cap, oil welling from the base seals with an intact housing, suggests seals. A visible crack, distortion around the cap threads, or a housing that weeps through its body means the housing itself. When in doubt, clean the valley, drive a day or two, and re-check where fresh oil appears first — the highest wet point is the source.
What success looks like at this stage: you can point to the highest wet point on the engine and say which component it belongs to, the coolant is either clean or flagged for a flush, and no one has yet quoted you a rear main seal based on a drip location alone.
Seals, plastic housing, or aluminum: the decision
| Route | When it makes sense | What to watch |
|---|---|---|
| Seals and O-rings only | Housing body and cap threads are intact; leak traces to the base seals | Same labour to reach it as a full housing swap — the intake comes off either way, so a marginal housing gets replaced, not resealed |
| New plastic (factory-style) housing | Budget repair on a van with a shorter remaining life | Same warping and cracking failure mode as the part that just failed |
| Aluminum upgrade housing | Housing is cracked or warped and the van is a keeper | Costs more up front; changes the oil filter generation (see below); sensors transfer from the old unit on the best-known kit |
The reference aluminum kit is Dorman's 926-959: a die-cast aluminum housing sold as a complete assembly with the oil cooler, a filter element, a filter cap, five mounting bolts, and a set of 19 seals and gaskets including the intake gaskets. Price-checked on 2026-10-16, it was listed at $249.70 USD at Autoplicity — treat that as a dated snapshot, not a promise, and expect shop labour for the intake-off job to exceed the part price. Two specification details on this kit matter more than the price. First, the kit deliberately brings early vans up to the latest filter specification: after fitting it, replacement filters are the 2014-and-newer type, and the included cap carries a tag saying so. Fit the early-style filter at the next oil change and it will not seat correctly. Second, the oil pressure and temperature sensors are not in the box — they transfer from the old housing, so handle them like the parts you are reusing, because you are.
One torque figure governs every future oil change on this engine, whichever housing you fit: many filter caps are marked 25 Nm (18 ft-lb), and that marking on your cap is the specification — snug to the mark, never cranked past it. Overtightening the cap is one of the documented ways the plastic housing gets cracked in the first place; on the replacement, whatever its material, the cap spec stays the same.
The replacement procedure
- Prepare. Cold engine, negative battery cable off. Drain the coolant enough to drop the level below the cooler connections, and have a drain pan ready — opening the housing releases both oil and coolant into the valley.
- Remove the upper intake manifold following the service procedure for your model year, labelling connectors and vacuum lines as they come off. This is the bulk of the labour and the step that decides whether this is a DIY job for you.
- Remove the lower intake as required for access, then mop the valley completely dry. Any oil or debris left here falls into open ports or hides the next leak check.
- Unbolt and lift out the housing/cooler assembly. Transfer the oil pressure and temperature sensors to the new housing if your kit does not include them, using new sealing washers where supplied.
- Fit the new assembly with every seal new. Seat all seals in their channels, use the supplied mounting bolts, and tighten to the specification and sequence in the kit instructions or the service information for your year — these are small fasteners into an engine valley, not a place for guesswork. Do not add RTV on top of moulded seals; excess sealant can break loose into oil and coolant passages.
- Reassemble the intake with new plenum gaskets (included in complete kits), reconnect everything on your labels, and refill oil and coolant to their marks.
- Start and inspect. Idle the engine, watch the valley with a light while a helper raises rpm briefly, and check underneath for drips at the bellhousing. Recheck oil and coolant levels after the first full heat cycle and again after a day of driving.
What success looks like: a dry valley after a full heat cycle and a day of driving, stable oil and coolant levels, clean coolant with no milky film, and a note in your service records — housing type fitted, and which filter generation the van now takes — where the next person doing an oil change will see it.
Frequently asked questions
How do I tell this from a rear main seal leak? Look up top first. Oil pooled in the engine valley or wetness around the filter housing means the leak starts at the housing; a rear main leak leaves the valley dry and shows oil at the bottom of the bellhousing.
Can I just replace the seals? Yes, if the housing body and cap threads are genuinely intact. But the intake manifold comes off either way, so most owners replace a housing that shows any warping or cracking rather than pay the same access labour twice.
Does the aluminum housing change my oil filter? On the Dorman 926-959 kit, yes: it converts early vans to the latest filter specification, so future filters are the 2014-and-newer type, and the included orange-tagged cap says so. Record the change with your service history.
Owner information only, not professional mechanical advice. Confirm torque specifications and procedures for your exact model year in the service information before starting; when in doubt, have a qualified technician do intake-off work.