Replacing a Grand Caravan headlight bulb — pick your generation first
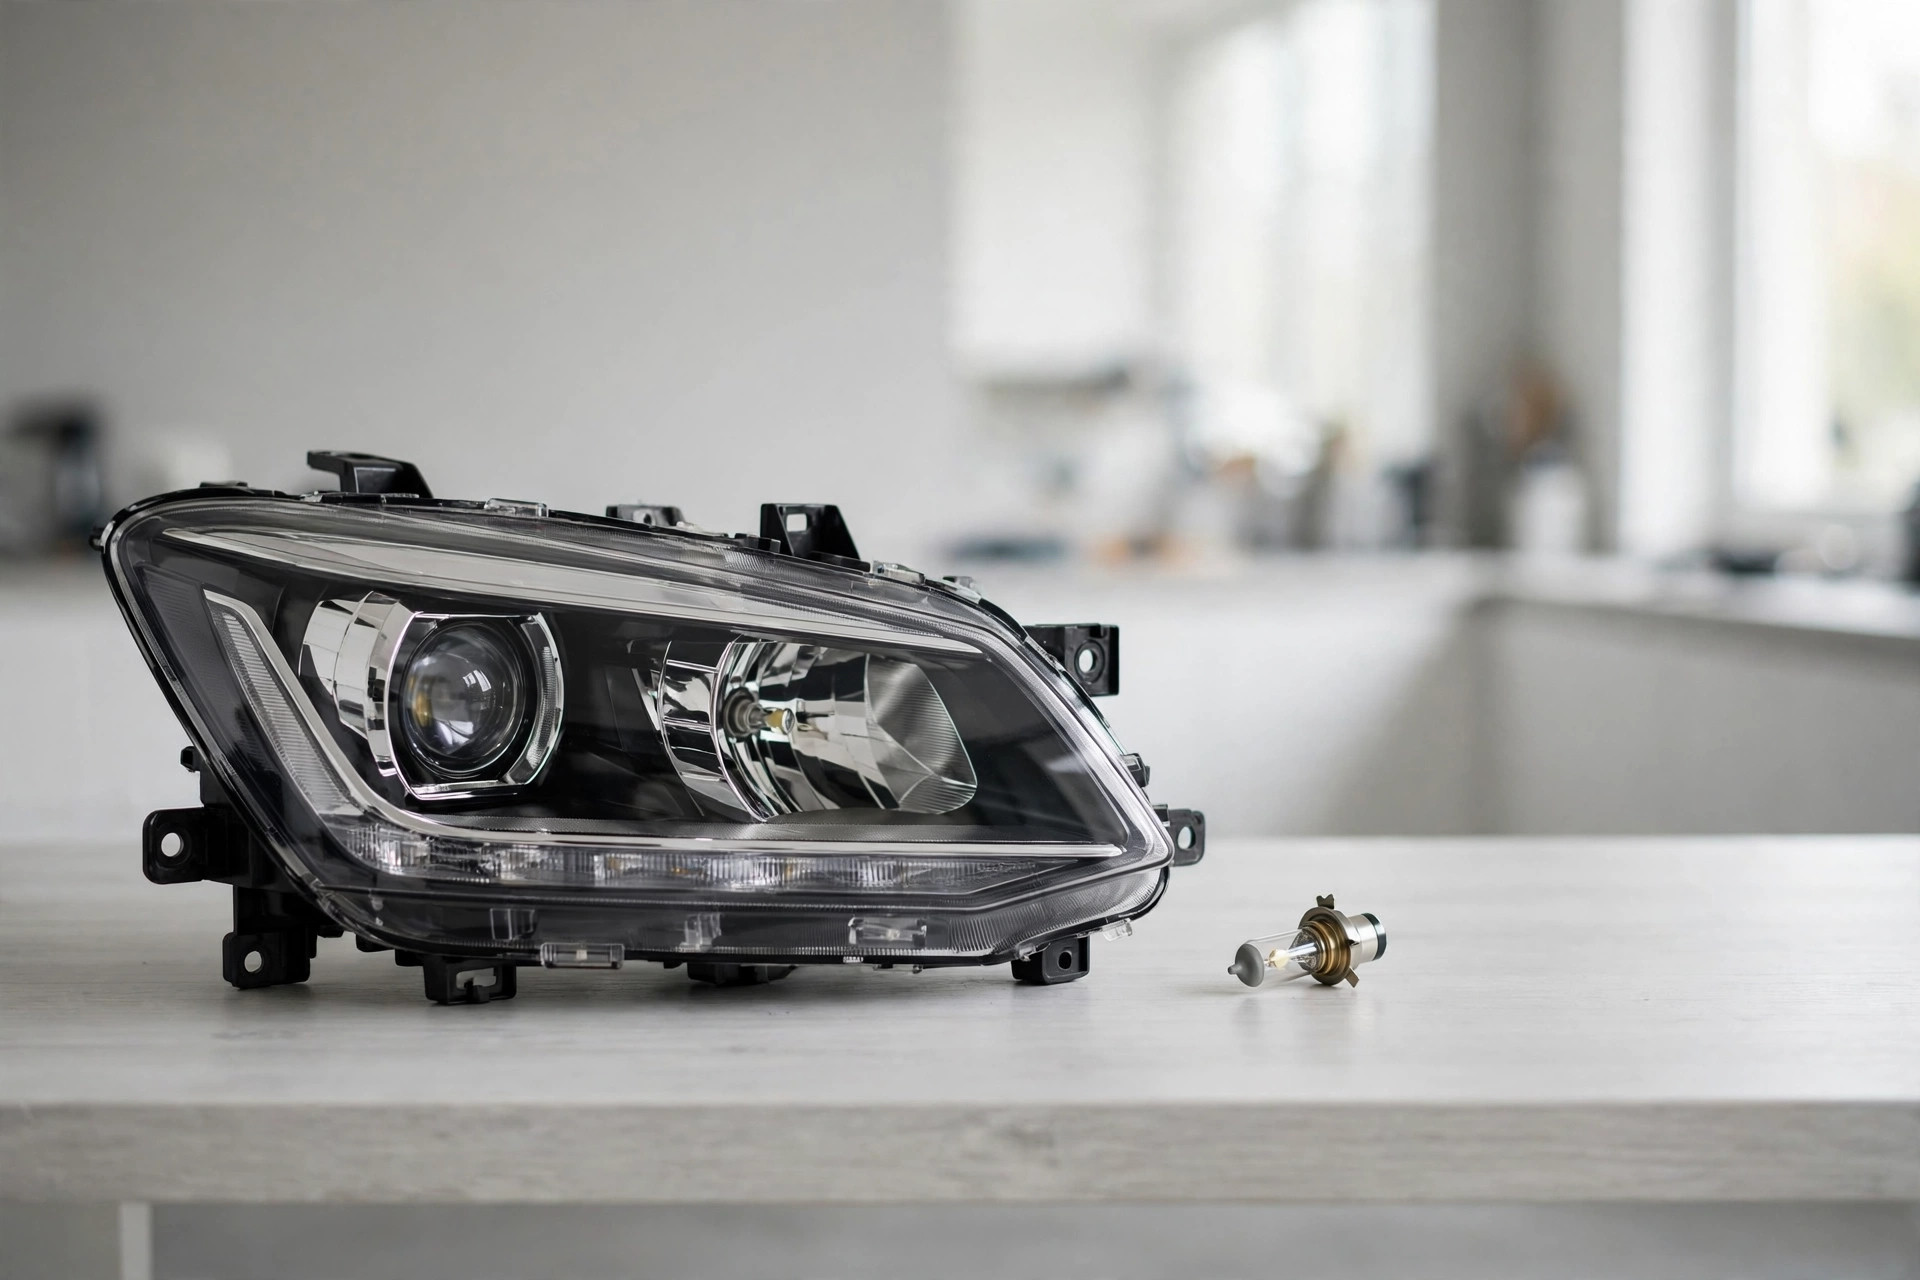
A burned-out headlight is one of the quickest fixes on a Grand Caravan — if you follow the procedure for your generation. The procedure changed significantly over the years, and most online guides cover only one generation. Start here: figure out which procedure is yours, then follow it.
Which generation is your van?
Check your model year, then confirm visually before touching anything:
- 2001–2007 vans: the bulb swaps through a retaining ring (or clip/pin) reachable from under the hood. The 2001–2007 generation uses 9007 halogen bulbs, and the headlight assembly itself can be unbolted for more room.
- 2008 and newer vans: access is tighter. Reaching the assembly screws can require removing the lower bumper, and on some years the practical route is through the front wheel well.
If you're not sure, open the hood and look at the back of the headlight: a round retaining ring you can twist by hand means you're in the older-style camp. Here's the side-by-side:
| 2001–2007 | 2008+ | |
|---|---|---|
| Access | From under the hood, behind the headlight | Tighter; may need bumper-lower removal or wheel-well access |
| Retainer | Retaining ring (twist), metal pin, or rotate-out socket by trim | Locking tab + retainer, varies by year |
| Bulb type | 9007 halogen (older years) | Owner's manual or the old bulb itself |
| Difficulty | Straightforward | More disassembly |
Buy the right bulb first
Bring the old bulb with you or look it up by model year — your owner's manual and the parts-store lookup are the authorities on bulb size. Buy bulbs in pairs: if one side burned out, the other is the same age. Check the socket for corrosion or damage while you're there — corroded connectors cause the flickering and dim lights owners often blame on the bulb. Clean dirty contacts with electrical contact cleaner.
Procedure A: 2001–2007 vans
- Park on level ground, ignition off, lights off. Let the bulbs cool.
- Open the hood and find the back of the headlight with the burned-out bulb.
- Disconnect the wire connector. Press down on its locking tab and pull it away from the bulb base.
- Remove the old bulb. Depending on trim: rotate the retaining ring counterclockwise and lift it off, unclip the metal pin, or twist the socket counterclockwise — then pull the bulb straight out.
- Install the new bulb — without touching the glass. Hold it by the base only and slide it into the back of the headlamp.
- Secure the retainer. Rotate the ring clockwise, re-clip the pin, or twist the socket back into place.
- Reconnect the connector until it clicks.
- Test and aim. Turn the headlights on and confirm the new bulb lights. If the beam looks off, have the headlight alignment checked — a mis-aimed headlight blinds oncoming drivers.
Procedure B: 2008+ vans
- Park level, ignition off, lights off. Let everything cool.
- Locate the back of the headlight. If you can't reach it from the engine bay, use the wheel-well route: turn the steering wheel for clearance, find the round access plug inside the front wheel well, push and turn it, and reach up behind the headlight.
- Disconnect the connector by pressing the locking tab and pulling it away from the bulb base.
- Remove the old bulb per your year's retainer style. Note how it came out — the new one goes back the same way.
- Install the new bulb by the base only — no bare fingers on the glass.
- Re-secure the retainer and reconnect the wiring until it clicks.
- Test and check the aim, just as with the older vans.
If access is impossible from the wheel well on your year, the fallback is removing the headlight assembly itself — which on 2008+ vans can mean unbolting the lower bumper to reach the assembly screws. For a bulb swap alone, the wheel-well route is usually the saner path.
The LED-swap warning
It's tempting to "upgrade" to LED bulbs while you're in there. But your headlight housing was designed around a specific lamp type: dropping an LED bulb (or HID capsule) into a halogen-designed housing means the housing can no longer focus the light properly, producing significant glare for oncoming drivers. It is both dangerous and illegal to mix lamp types with housings not designed for them; a proper conversion means replacing the entire assembly with a compliant, aimable unit. The simple rule from bulb-sizing guides: make sure any bulb you install is DOT compliant. Stick with the halogen type your van shipped with and you'll get the beam the engineers designed.
What success looks like
Both headlights on, both the same brightness and color, no flicker, and the beam pattern looks the way it did before (check against a garage door or wall at night). The connector should click firmly into place, and replacing both bulbs keeps them aging together. If the new bulb flickers or looks dim, the usual culprit is a dirty or corroded connector — not a bad bulb.
FAQ
Should I replace both bulbs at once? Yes. Bulbs age together; the survivor is usually weeks behind. Doing both saves you repeating the access work.
The bulb won't come out — what am I doing wrong? On older vans the retaining ring or pin is the step people miss. Don't force it: release the retainer fully first. Corrosion can also seize a bulb in its socket — gentle wiggling, not brute force.
Can I touch the bulb if I wipe it after? Don't risk it. Oils bake into the glass and create hot spots. Base-only handling, every time.