Clunking over bumps: sway bar links, bushings, or struts?
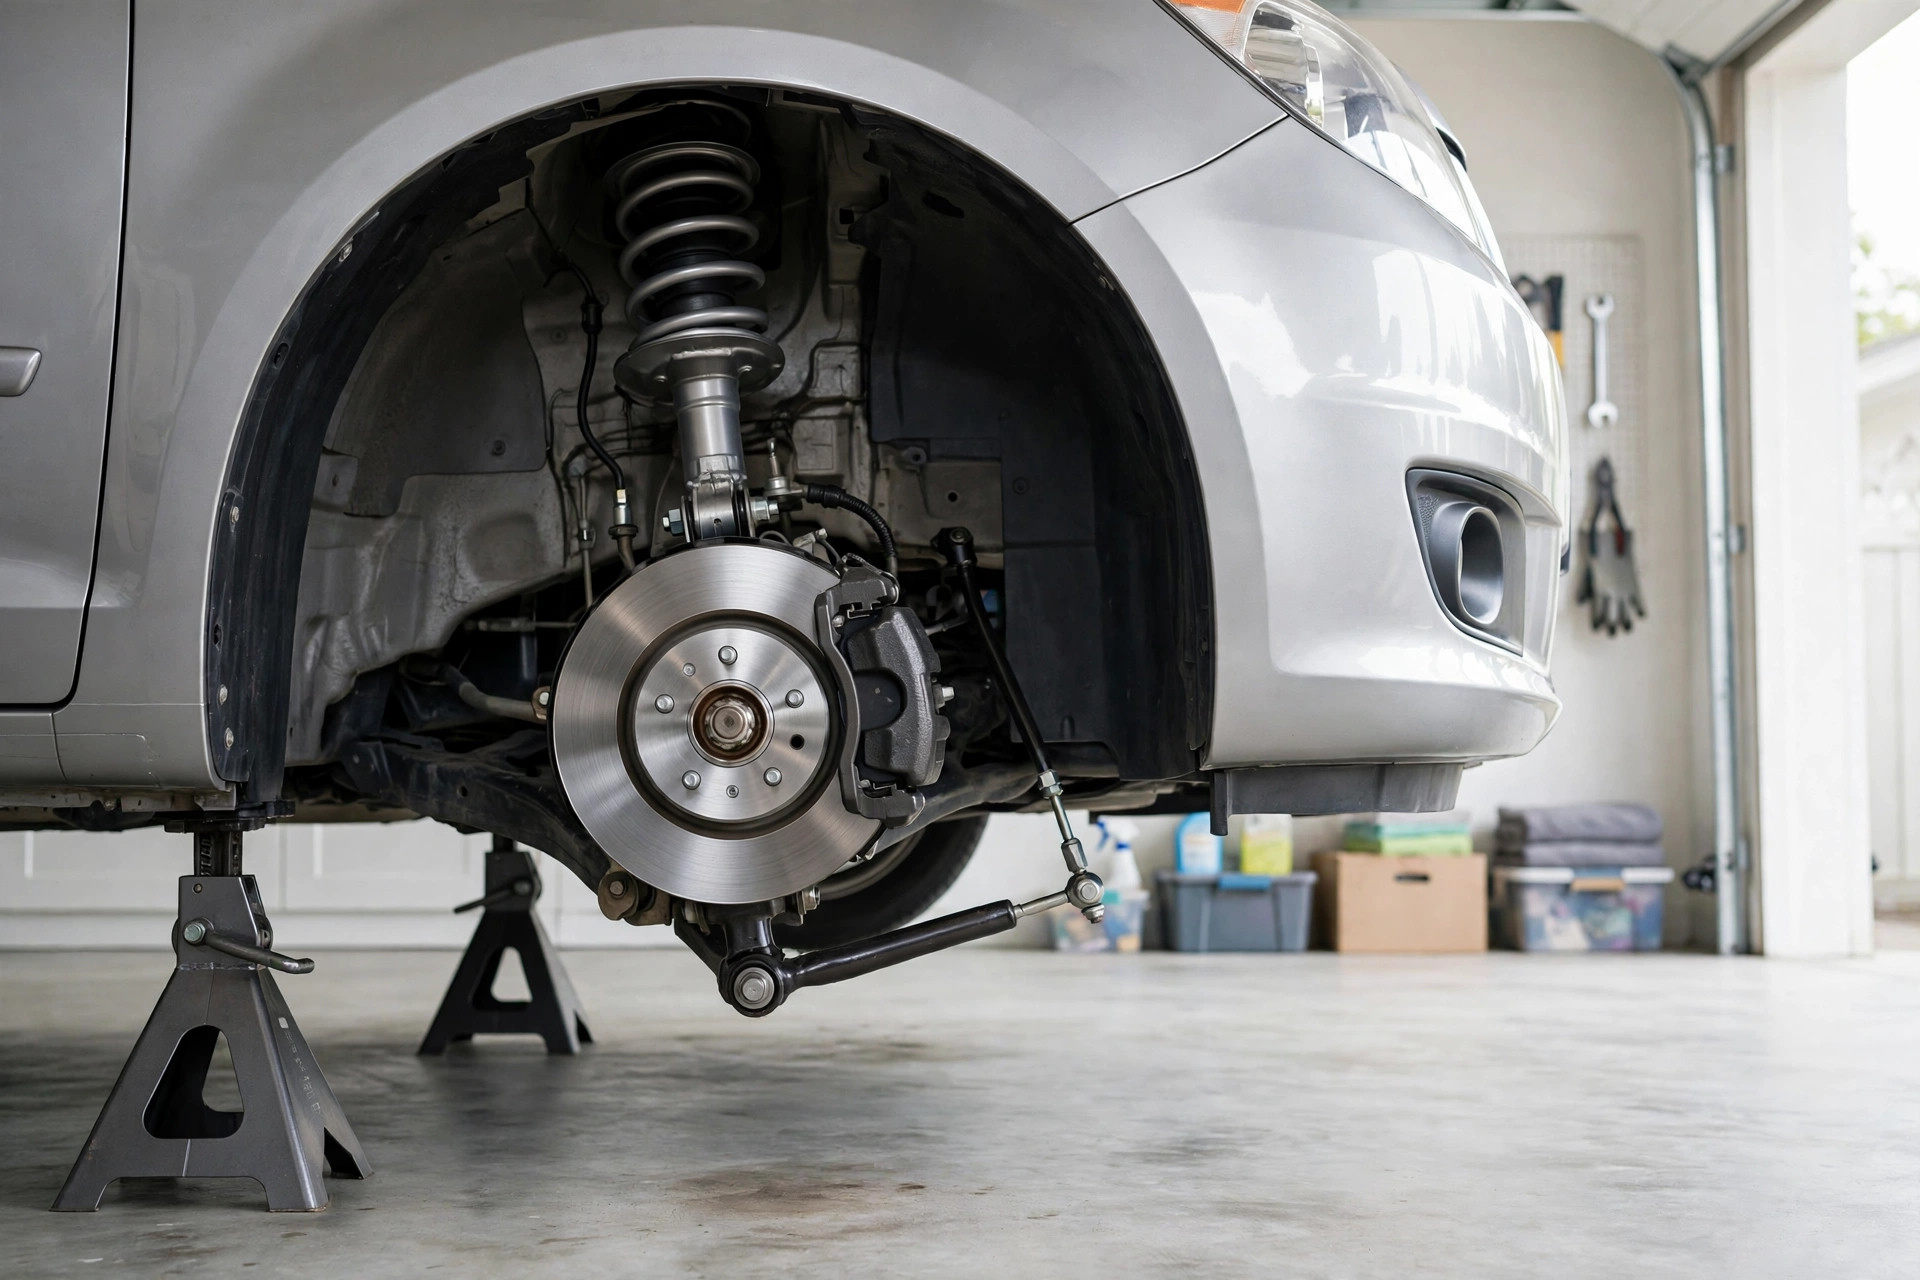
A front-end clunk over bumps sends a lot of Caravan owners straight to a strut quote. Resist. On these vans the sway bar links and bushings were a known weak point — a Chrysler technician answering owner questions calls them exactly that, and notes they cure the concern the large majority of the time. Chrysler issued a technical service bulletin (02-004-01) about this noise family back in 2001. The struts may be guilty, but they should have to prove it, because the test that separates the sway bar from everything else is free.
Match the clunk to the part first
| What you hear and feel | Most likely suspect | Distinguishing check |
|---|---|---|
| Deep clunk or knock over rough, uneven road — sharper when one front wheel hits a bump and the other does not | Sway bar end links | Feel the link while a helper rocks the van; looseness shows up as the clunk in your hand |
| Similar clunk, sometimes with a creak or squawk at low speed | Sway bar frame bushings | Look inboard along the bar: a bushing worn oblong or egg-shaped has play the bar moves in |
| Squawk, creak, or groan when turning the wheel at a stop or in a parking lot | Also the stabilizer links, per the factory bulletin | The bulletin's own test: grasp the link while a helper turns the wheel and feel for it |
| Light rattle rather than a deep clunk, with play you can feel at the wheel | Outer tie rod | Front end lifted, hands at 9 and 3 on the tire: a worn tie rod is noticeably loose |
| Clunk that persists with the sway bar disconnected | Strut mount, control arm bushings, ball joint, or loose chassis hardware | The isolation test below is what moves you to this row |
The one-wheel detail matters. A sway bar only works when the two front wheels move differently, so its parts complain loudest over staggered bumps, driveway aprons, and potholes that catch one side. A noise that is identical over a speed bump taken squarely with both wheels is a weaker sway-bar signal and a stronger reason to run the isolation test before buying anything.
The parking-lot checks (no parts bought yet)
- The rock test. Park on level ground, open a front door, and have a helper rock the van side to side by the roof rail or door frame while you hold each sway bar link in turn. A worn link telegraphs the clunk straight into your hand.
- The bushing look. With a bright light, look from behind the front wheel inboard along the sway bar to where it passes through its frame bushings. Round and snug is healthy; oblong or egg-shaped means the bar is moving in worn rubber. Owners and techs alike name these bushings the most common noise source on the van — and at roughly US$5 each in parts-store pricing reported by owners, they are the cheapest part in this entire article.
- The bulletin test. Helper in the driver's seat, engine running, parking brake set: they turn the steering wheel both directions while you reach between the top of the tire and the wheel-well lip and grasp the sway bar link. Listen and feel for the noise in the link — this is the diagnosis procedure straight out of TSB 02-004-01.
The isolation test: disconnect, secure, drive
If the checks point at the sway bar but you want proof before spending, this is the test a technician described in an owner forum — and it is the single most useful step in this guide:
- Raise the front of the van and support it on stands. Owners report that lifting at the centre so both front wheels drop unloads the sway bar and makes the link nuts far easier to remove.
- Remove the lower nut on each sway bar link and swing the links clear of the bar. Hold the stud so it cannot spin (see the Torx note below).
- Secure the loose links with zip ties or wire so they cannot swing into the tire, axle, or brake hardware. Nothing dangles.
- Lower the van and drive your known clunk route — the same bumps, at the same speeds, that produced the noise.
- Read the result: noise gone means the sway bar system was the source, and fresh links (and bushings, if they looked worn) are a proven purchase. Noise unchanged means the sway bar is innocent — reconnect it and move your attention to strut mounts, control arm bushings, and hardware torque, in that order.
What success looks like: a before-and-after on the identical stretch of road. If you cannot reproduce the noise on demand, you cannot verify the fix either — find your test bumps first. Note that one owner in the same thread replaced a link for about US$27 in parts and roughly 45 minutes of work, which is the scale of job the test is protecting you into — versus the roughly US$600 (parts, labour, and alignment) another owner reported for a full strut bushing, bearing, and damper job. Those are owner-reported figures, not quotes, but the ratio is the point.
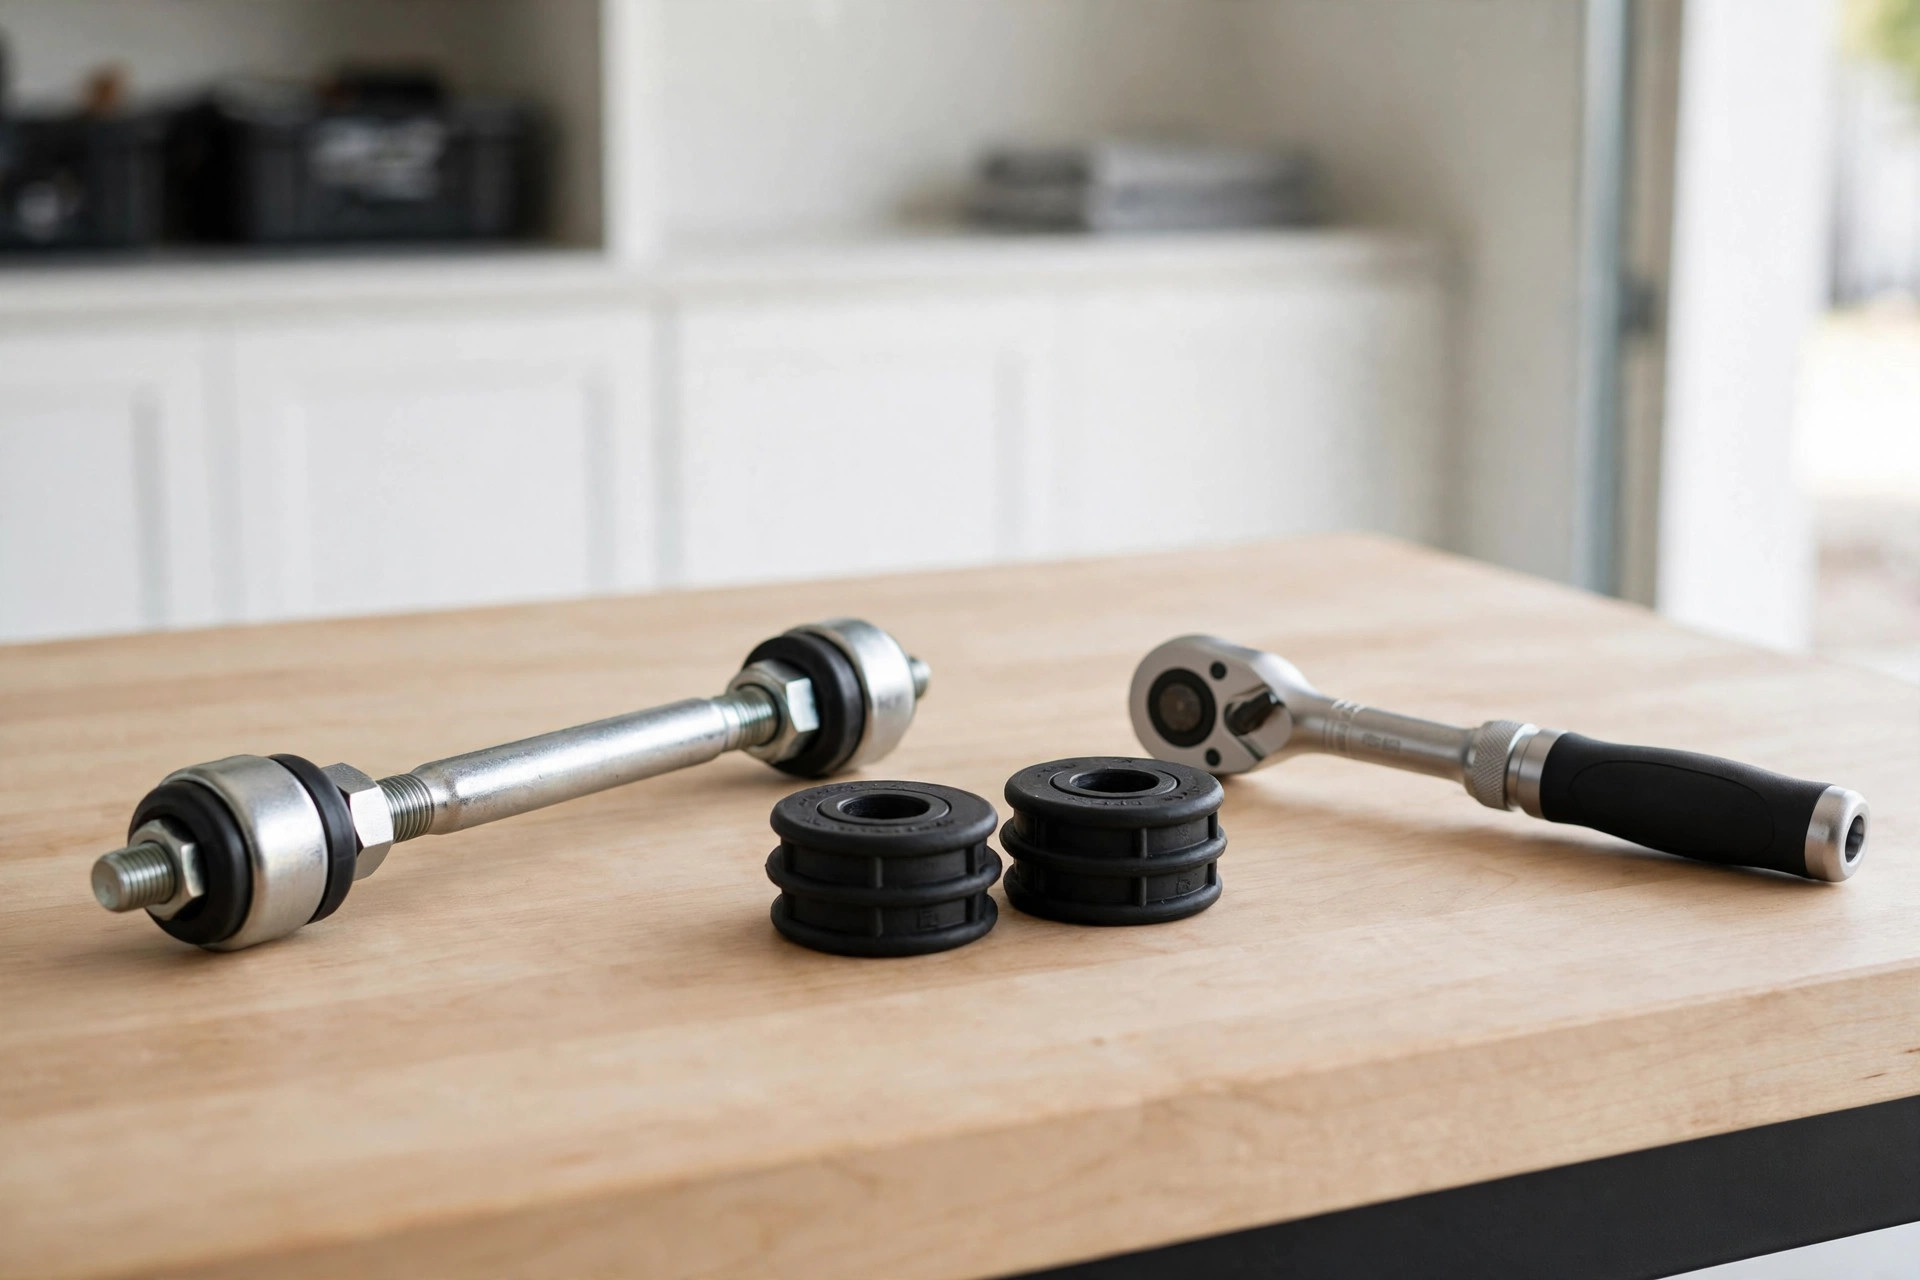
Replacing links and bushings, with the factory spec
The replacement itself is the bulletin's repair procedure, and it contains the one detail the internet keeps dropping:
- Raise the van on stands and remove both front wheels.
- Remove the upper and lower nuts and take the old link out. Penetrating oil and patience beat a snapped stud.
- Fit the new link. Do not let the stud rotate in its socket: hold it with a #40 Torx bit inserted in the end of the stud while you run the nut down — this caution is verbatim in the bulletin, and a spinning stud is how new links get ruined during installation.
- Torque the link nuts to 88 N·m (65 ft. lbs.).
- If you are doing the frame bushings as well, note the technician's tip from the owner threads: the updated dealer bushings come with plastic inserts that the cheapest aftermarket ones lack — worth asking about at the parts counter.
- Road-test on your known bumps. Silence, on the same road, is the verification.
When the clunk is not the sway bar
If the isolation test clears the sway bar, work outward in cost order: check for loose chassis bolts and mounts, then control arm bushings, then strut mounts — the strut assembly itself last, and only with evidence (leaking damper, broken spring, mount play you can demonstrate). Ball joints belong on the inspection list for any front-end noise, but treat play there as a safety finding, not a DIY experiment. The discipline is the same as every other guide on this site: the part you replace should be the part a test convicted.
Frequently asked questions
Can I drive with a clunking sway bar link? A worn link is a noise and handling-sharpness issue more than an emergency, and owners often live with it for months. The exception is if your checks turn up tie rod or ball joint play — those are steering components, and play there means a prompt professional inspection.
Should I replace links in pairs? The two sides live the same life and the parts are cheap; if one side is worn, the other is rarely far behind. The bulletin's procedure replaces the link assemblies, and doing both sides in one lift of the van is the efficient path.
My struts were already replaced and the clunk is still there. Now what? That sequence — struts first, noise unchanged — appears in the owner threads repeatedly, and the answer that resolved it was the sway bar links and bushings. Run the isolation test; it works just as well after other parts have been changed.