Replacing the cabin air filter: the 10-minute job shops bill $160 for
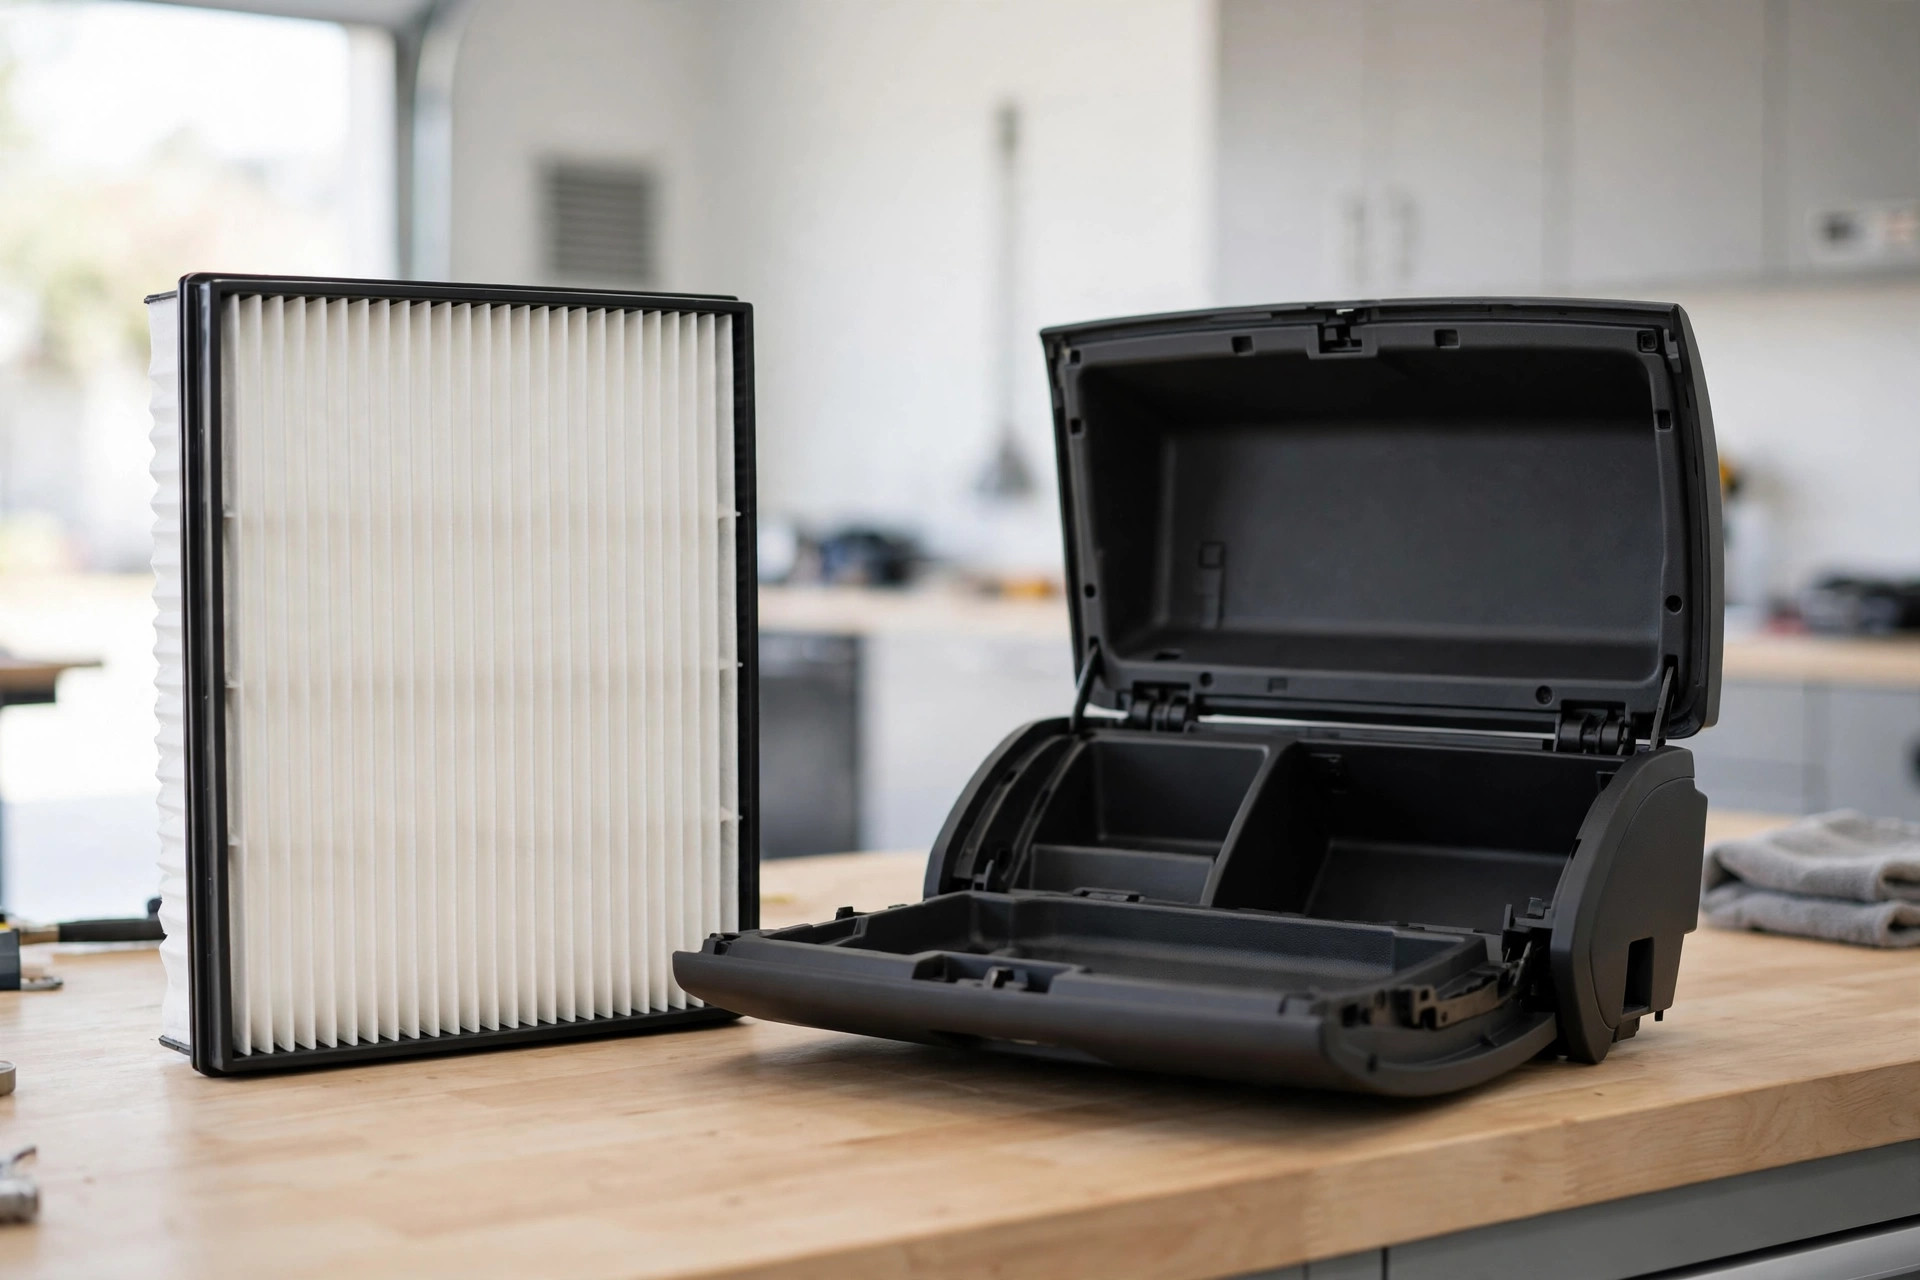
Of all the maintenance a shop will happily charge you for, the cabin air filter is the most lopsided: the average shop bill runs about $160 — roughly $20 in parts and $140 in labor — for a job the filter manufacturer rates at under 10 minutes. It sits behind the glove box, needs no tools, and the whole procedure is: drop the glove box, open a cover, swap the filter. This guide covers both generations, because the procedure (and whether your van even has a filter) depends on the year.
Does your van even have one? (quick check)
Here's the generation split the video guides skip:
- 2008 and newer: yes — the filter lives behind the glove compartment. This is the procedure below.
- 2001–2007: the fourth-generation vans were equipped with a cabin air filter, but it wasn't standard on every trim — some vans lack one entirely. Before buying a filter, check your owner's manual or look behind the glove box for the filter housing.
- 2000 and older: the third-generation van did not come with a factory cabin air filter. An accessory filter kit could be fitted near the blower resistor (accessed from the engine side of the firewall), but there's no factory slot to swap.
Signs yours is overdue regardless of year: musty odors from the vents, weak airflow even on high fan speed, or the A/C struggling. The general replacement guidance is roughly every 12,000–15,000 miles or once a year.
DIY vs. shop: the actual math
| DIY | Shop | |
|---|---|---|
| Parts | ~$20 (one cabin filter) | ~$20 (same filter, marked up) |
| Labor | $0 (your 10 minutes) | ~$140 |
| Total | ~$20 | ~$160 |
| Time | Under 10 minutes, first try | Drop-off + wait + pickup |
Model-specific estimates run $185–$235 at shops depending on year and engine, so the real-world gap is often even wider. This is the single best "first DIY job" on the van: zero tools, zero risk of breaking anything expensive, and you keep ~$140.
What you'll need
- One cabin air filter for your model year (e.g., the common fitment for 2008–2014 Grand Caravan and Town & Country). The parts-store lookup by year is the authority.
- A few minutes and an empty glove box.
Procedure: 2008+ vans (behind the glove box)
- Empty the glove box and open the passenger door. Ignition off.
- Release the dampener. On the side of the glove box assembly there's a small dampener arm — lift the glove box slightly and slip the catch out of its hold.
- Drop the glove box. Push inward on both sides of the glove box to disengage the stopper tabs, then lower it fully. Don't force it past resistance.
- Open the filter cover. Behind the glove box you'll see a rectangular cover held by tabs on either side. Press the tabs in and remove the cover.
- Pull out the old filter. Note which way it faces — then check the housing for leaves, dust, or debris and clean it out.
- Insert the new filter with the airflow arrows pointing DOWN. This is the step people get wrong: the arrow direction matters for how the filter media works. Match the arrow to "down."
- Snap the cover back on until both tabs click.
- Reinstall the glove box. Lift it, press in on the sides to re-engage the stopper tabs, and slip the dampener catch back into its hold. Put your glove box contents back.
Procedure notes: 2001–2007 vans
The job is the same idea — glove box access, swap the filter — but details vary by year and trim, and some vans need more disassembly (panels, screws, or a damper arm on the side of the glove box assembly) to reach the housing. The critical rule on these years: do not disconnect any wires you find behind the glove box. Lower the assembly gently, leave everything plugged in, and work around it. If you pull the glove box and find no filter housing at all, your trim simply doesn't have one — don't go hunting for a slot that was never installed.
What success looks like
Start the van and run the fan through its speeds with the A/C on. Success: airflow feels strong and even at every vent, there's no new rattling from behind the dash (a rattle means the cover isn't snapped in fully), and the musty smell is gone within a drive or two. The glove box should open, close, and dampen exactly as before — if it drops freely, a stopper tab isn't re-engaged.
FAQ
How often should I replace it? Roughly every 12,000–15,000 miles or annually. Dusty roads, pollen season, and heavy A/C use justify doing it sooner.
Does the arrow direction really matter? Yes — the filter media is directional. Arrows point down (in the direction of airflow) on these vans. An upside-down filter still filters, but less effectively.
My 2006 doesn't seem to have one. Is that normal? Yes — the filter wasn't standard on all trims. Verify with your owner's manual rather than assuming the previous owner removed it.